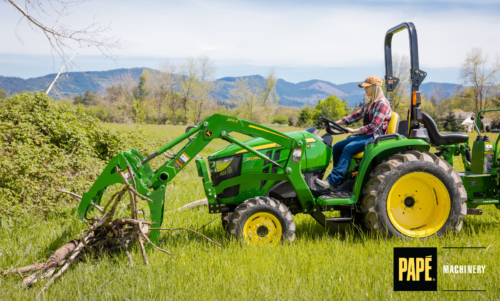



Potholes, ruts, washboarding, exposed base material, and gravel piled along shoulders are clear signs your gravel driveway is in need of repair. Effective gravel driveway maintenance starts by loosening damaged material, redistributing existing gravel, restoring drainage, and adding fresh stone where the surface has worn thin. A compact utility tractor can handle each stage with the right attachment.
Inspect the Driveway First
Walk the full driveway before getting on the tractor. Check the travel surface, edges, drainage paths, and transitions near roads, garages, gates, and parking areas. Clearly mark any hazards that may be less immediately visible. Look for:
- Potholes, depressions, ruts, and washboard sections
- High spots, ridges, and gravel pushed into grass
- Bare areas or exposed base material and drainage pipes
- Standing water, clogged ditches, and visible runoff paths
Use this inspection to determine the work needed: light smoothing, deeper scarification, fresh gravel, or drainage improvements. Recurring damage often points to water collecting or flowing across the driveway.
Choose the Right Attachment
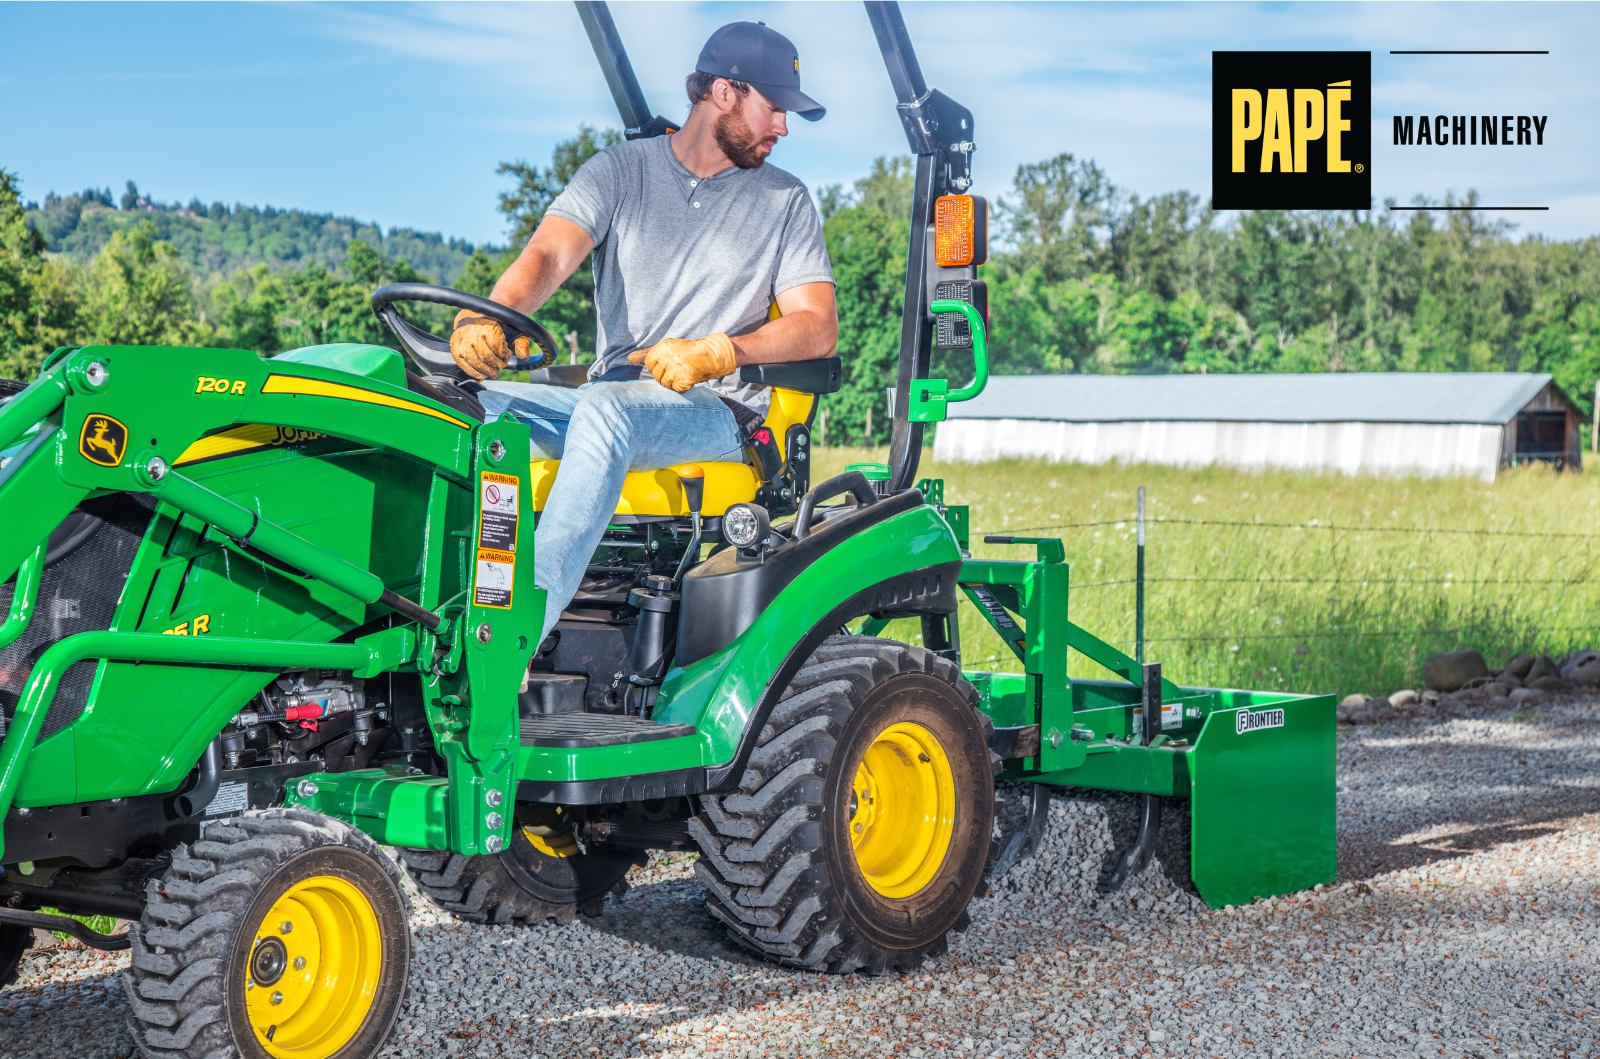
A box blade with scarifiers is the primary tool for compact tractor driveway maintenance when the surface has potholes, washboarding, or hard-packed gravel. The teeth loosen the damaged layer, and the cutting edges redistribute material into low areas. Start with the work your property requires, then match the tool to the tractor’s size, hitch, lift capacity, and workload. Our compact tractor attachments and implements guide can help you evaluate the options.
See the John Deere 1025R in Action
Considering a compact tractor for property maintenance? Watch our Papé Toolkit video for a closer look at the John Deere 1025R Compact Utility Tractor and its latest features.
How to Grade a Gravel Driveway in Six Steps
Step 1: Prepare Your Tractor and Work Area
Move vehicles, branches, and other obstructions. Check tire condition, hydraulic components, the three-point hitch, attachment pins, and required ballast. Adjust the implement so it sits level side to side. Only make adjustments with the machine properly secured. Work slowly, avoid sudden turns, and keep bystanders clear.
Step 2: Loosen and Scrape the Damaged Surface
Lower the scarifiers enough to penetrate the compacted surface. Begin shallow, then increase depth gradually. Reach the bottom of the deepest potholes or washboard grooves while preserving the structural base.
Make long, overlapping passes. Vary the tractor’s path slightly so the teeth keep cutting fresh material across the full width. Several light passes provide better control than one aggressive cut. Stop periodically to inspect the loosened layer.
Step 3: Level and Redistribute Existing Gravel
Raise the scarifiers after loosening the damaged layer. Set the box blade for smoothing, then make long, steady passes. Let gravel collect inside the box and flow into low spots.
Pull usable material from the shoulders toward the driving surface. Change your tire path between passes so the implement crosses different areas. Continue until potholes are filled, ridges are reduced, and the surface looks consistent. A land plane also works well here because its blades gather and redistribute loose material.
Step 4: Rebuild the Crown and Protect Drainage
A gravel driveway should have a gentle crown or intentional cross slope that directs water toward the edges. Shape the center slightly higher than the sides, or follow the property’s established drainage design. Separate passes along each side can create an even slope. Keep ditches, culverts, and driveway edges open. Gravel pushed too far outward can restrict water flow and contribute to erosion.
Step 5: Add New Gravel Where Needed
Reshape the existing material before adding gravel. Once the driveway is level, thin and low areas become easier to identify. Use the loader bucket to place manageable amounts in bare sections, repaired depressions, approaches, turning areas, and places with exposed base material. Rough-spread each load with the bucket, then finish with the box blade or land plane.
Step 6: Make the Final Pass
Raise the scarifiers fully and make several light passes along the driveway. Keep the tractor speed low enough for the implement to stay steady. Blend fresh gravel into the existing surface, smooth abrupt transitions, and check the crown, shoulders, ditches, and culvert openings.
Normal vehicle traffic can help settle the surface. Use compaction equipment when the project specifications or gravel supplier call for it. Clean the attachment, then inspect cutting edges, scarifier tips, pins, and hardware.
How Often Should You Maintain a Gravel Driveway?
Inspect the driveway after winter, heavy rain, snow removal, and heavy traffic. Repair small potholes and drainage problems early, while light grading can still restore the surface. Periodic land plane or rear blade passes can reduce the need for deeper reconstruction.
Routine checks of tractor fluids, tires, hydraulics, hitch components, and attachments support dependable performance. Our compact utility tractor service and repair team can help with preventive maintenance, parts, and equipment support.
A reliable process follows the same sequence: loosen, redistribute, reshape, replenish, and finish. At your local Papé Machinery Ag & Turf, we can help match John Deere compact utility tractors, box blades, rear blades, land planes, and loader attachments to the work your property requires.