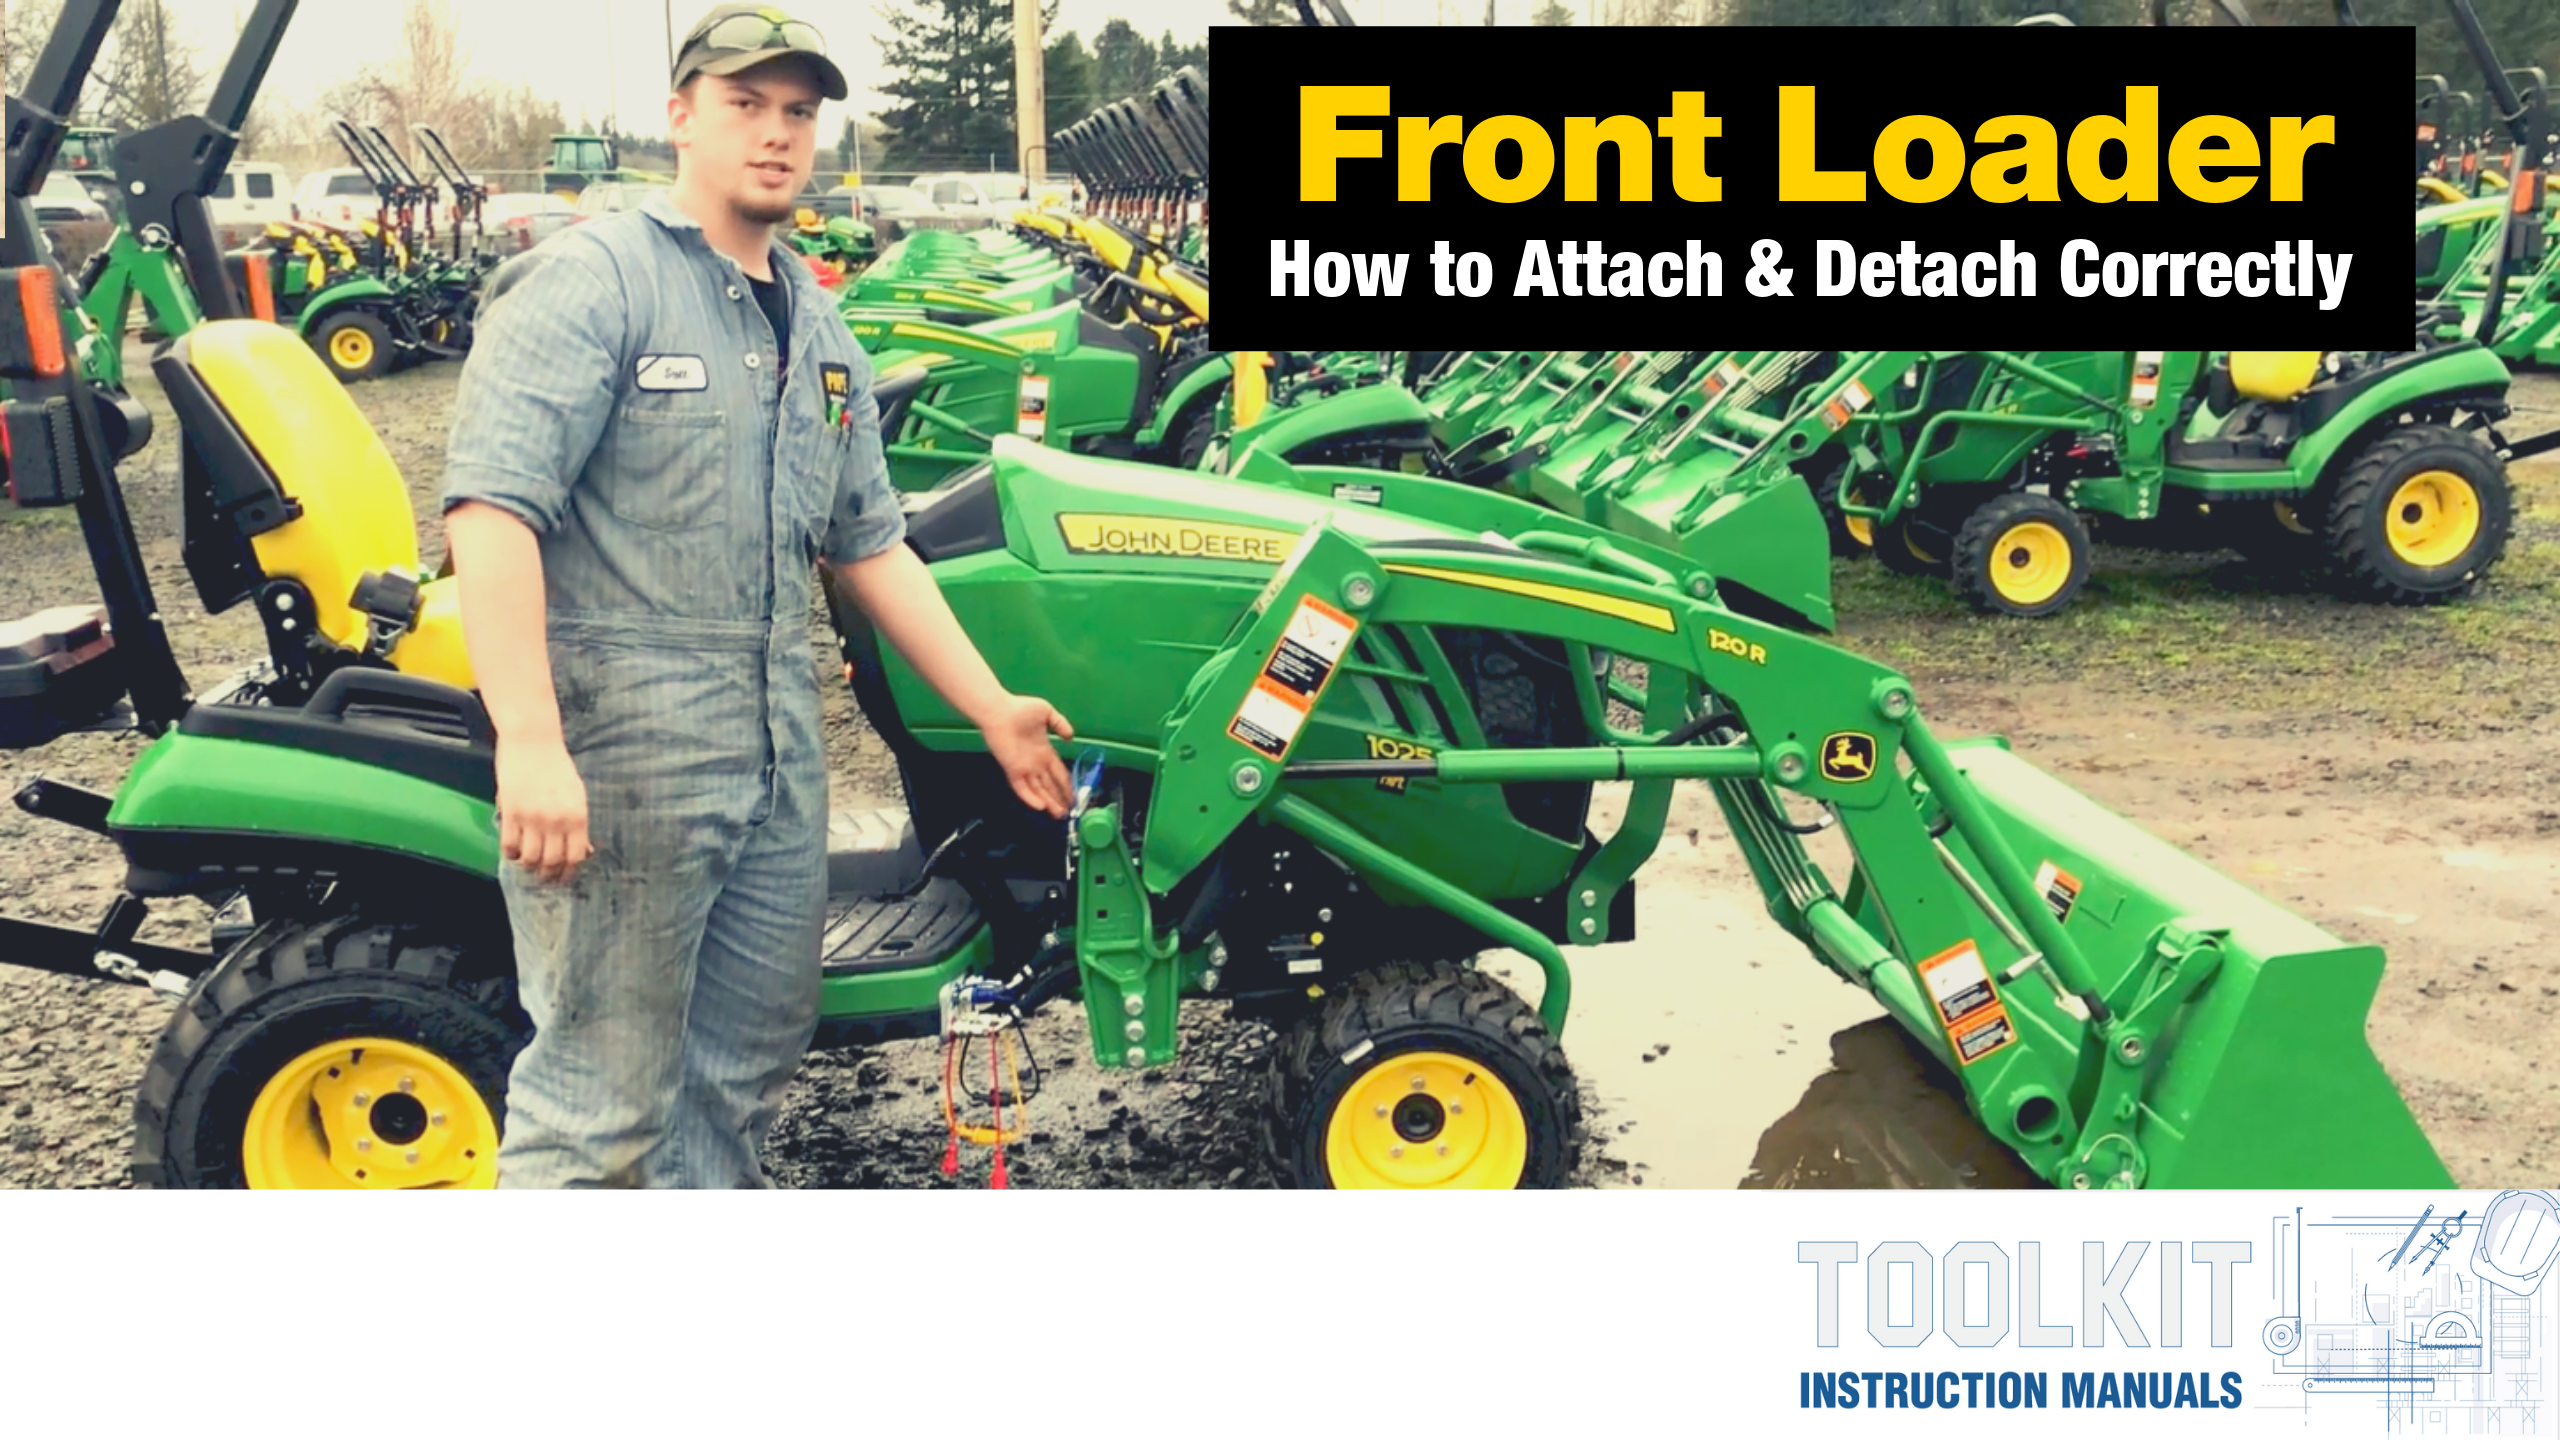
Removing and Installing the Front End Loader on your John Deere Compact Utility Tractor might seem like a simple task, but did you know there’s a recommended way to do so?
We’ve put together a quick step-by-step tutorial for this process, to help you keep your equipment and implement in working order whenever you need to attach or disconnect your front loader. For a visual walkthrough, check out the video above and be sure to subscribe to the Papé Machinery: Agriculture & Turf YouTube Channel for more Product Insights like this one.
Disconnecting the Front Loader
Removing the Loader takes a few additional steps when compared to attaching it, and this has everything to do with prepping the implement for the next time you’ll use it. It might take a few additional minutes of work, but you’ll be thanking yourself later when the reattachment process takes no time at all.
1) Lower the Bucket Until it Rests on the Ground
Once it’s disconnected you want to be sure that there is no space between the ground and the bucket to avoid excess movement.
2) Move Slightly Forward
This will put forward pressure onto the arms and bucket of the implement while relieving pressure off of the front axle.
3) Lift the Knuckles Into Place on Both Sides
Lifting the knuckles into the upright position will engage the lock and latches them to the frame of the implement.
4) Begin to Pull Away From the End Loader
Using the loader joystick, pull back slowly and allow the front arm to drop into place. Once the loader is fully disconnected, it will fall back into place and rest on the ground.
5) Engage the Parking Brake, Turn Off & Step Off the Machine
6) Use the Loader Joystick to Release Hydraulic Pressure & Carefully Disconnect Hydraulic Lines
There may still be excess pressure remaining in the hydraulic lines, be very careful during the removal process even after wiggling the joystick.
7) Place Dust Caps on Hydraulic Lines
Depending on the length of time between connections; dirt, water, dust, and other debris can build up in the lines and cause damage or disruption when connecting. To assure a quick and easy connection process, be sure to place the caps on when storing the front loader.
Reconnecting the Front Loader
You’ve done all the work when removing the Front Loader, so the reattachment process should be a quick and easy process that gets you right back to work.
1) Remove Dust Caps, Check Lines for Debris & Reconnect Hydraulics
2) Using the Loader Joystick, Pull Forward Into the Implement
3) Lower Knuckles on Both Sides into Place
4) Slowly Lift Bucket Into Place
There you have it, a few simple steps to follow when connecting and disconnecting your front loader. This will help keep your equipment in peak condition and hopefully make either process quick and painless.
We hope you found this walkthrough helpful, and if you’re looking for more Product Insights From the Pros, check out our other Toolkit Manual Blogs and The Toolkit video series on the Papé Machinery: Agriculture & Turf YouTube Channel. New episodes every Tuesday!
If you don’t currently own a front end loader for your John Deere Tractor and want to learn more about its use cases, be sure to call or visit your local Papé Machinery location for in-depth assistance from a Papé member.
Lastly, if you have any additional questions or topics you’d like to see covered on The Toolkit, send us an email at pcmarketing@pape.com and it may pop up on an upcoming episode.


